Reading Between the Lines – Measuring Tape Edition
A measuring tape is the one tool that can be found in every toolbox, regardless of who it belongs to.
Measuring tapes are essentially flexible rulers used to measure length or distance and are made from various materials like plastic, fiberglass and cloth.
Whether you’re working on remodeling and building homes or setting up IKEA furniture in your studio apartment, a measuring tape is a necessity. We use them for a variety of tasks, such as measuring the size of a wall for drywall or the area of a floor for hardwood.
The History of Measuring Tapes
The Romans were the very first people to use a measuring tape-like instrument; they used leather strips marked at certain intervals to measure lengths or distances.
The measuring tape we use today originated in the tailoring business. It was made of cloth and used for accurate alteration of clothing.
William H. Bangs of Connecticut was the first person to attempt making a spring return tape measure. Bangs designed it so that the tape could be stopped at any point and held there by the mechanism; it could also be returned to its casing by sliding a button, which would cause the spring system to retract it.
In January 1922, Hiram A. Farrand patented his concave-convex style of the tape measure. This was a major improvement from the Bangs tape. Farrand conducted numerous experiments on his measuring tape prototype at the Hipolito company and began mass-producing the tape which is still used to this day!
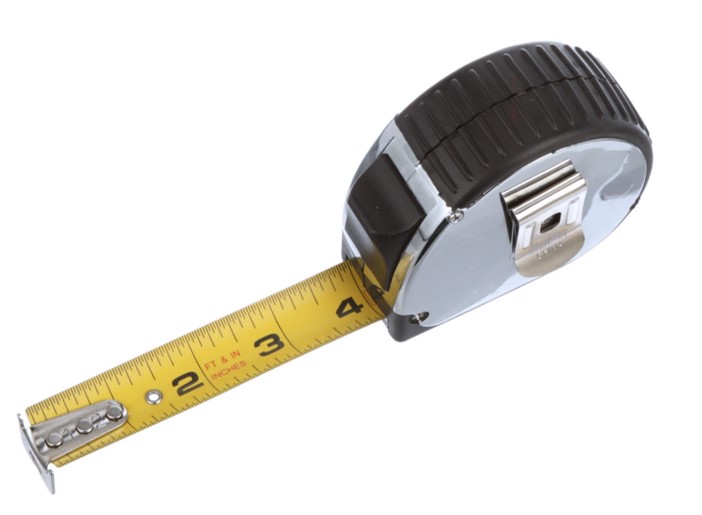
Tape measure generally refers to a self-retracting, roll-up measuring tape. It is typically yellow in color and has numeric measurements marked along its length. The length of the tape, called the ‘ribbon,’ is made of a stiff, metallic substance that is soft enough it can be rolled up for easy storage but is also stiff enough to allow you to measure precisely over distances.
Measuring Tape Basics
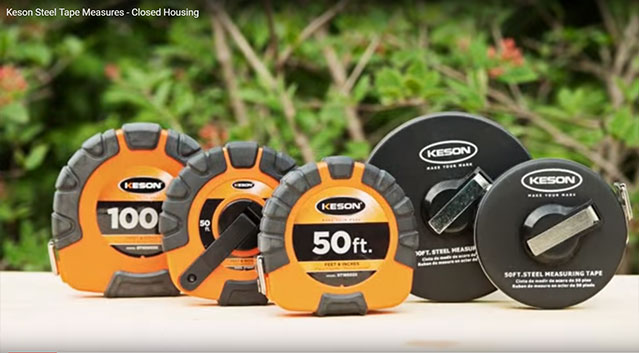
Keson’s tape measures come in a variety of sizes and types, allowing you to pick exactly the right kind depending on your usage. Shorter tapes are best for small-scale interior work like measuring kitchen slabs, while longer tapes are used in large-scale framing and outdoor projects.
Tape measure readings come in both Imperial and Metric units, along with special purpose increments, including marks to cover stud intervals for housing and roofing lengths.
To be able to enjoy all the advantages of this tool, you need to first understand its markings, and how to read a tape measure properly.
Tape Measure Marks
Tape measure readings are determined by the perpendicular marks that run along the length of the tape. The marks are different depending on the type of units being shown: imperial, metric or engineer.
In the imperial system (and in the image below), the longest mark depicts 1-inch intervals, with the length of marks decreasing as the tape measurements shorten. These marks can range to as small as 1/32 of an inch on an imperial tape measure.
Hook End Tab
The hook end tab is attached to the end of the measuring tape; this flat metal hook prevents the tape from completely sliding back into the reel. It can also be hooked on the edge of an object for recording accurate, hands-free measurements.
How to Read a Tape Measure
Determine Your Measuring Surface
To measure any length, put the measuring tape at one end of the space or item, and pull it outwards.
Read the Results
To determine the length or distance from the tape measure markings, add the lengths between the marks together (i.e. the increments). Remember that the biggest mark will depend on the measuring system being used.
For the imperial system, the biggest mark is an inch. As the lines on an imperial tape measure decrease in size, so does their value; for example, the 1/2-inch mark is bigger than a 1/8-inch mark.
If your space or object is less than an inch, simply read off the imperial tape measure to get the length.
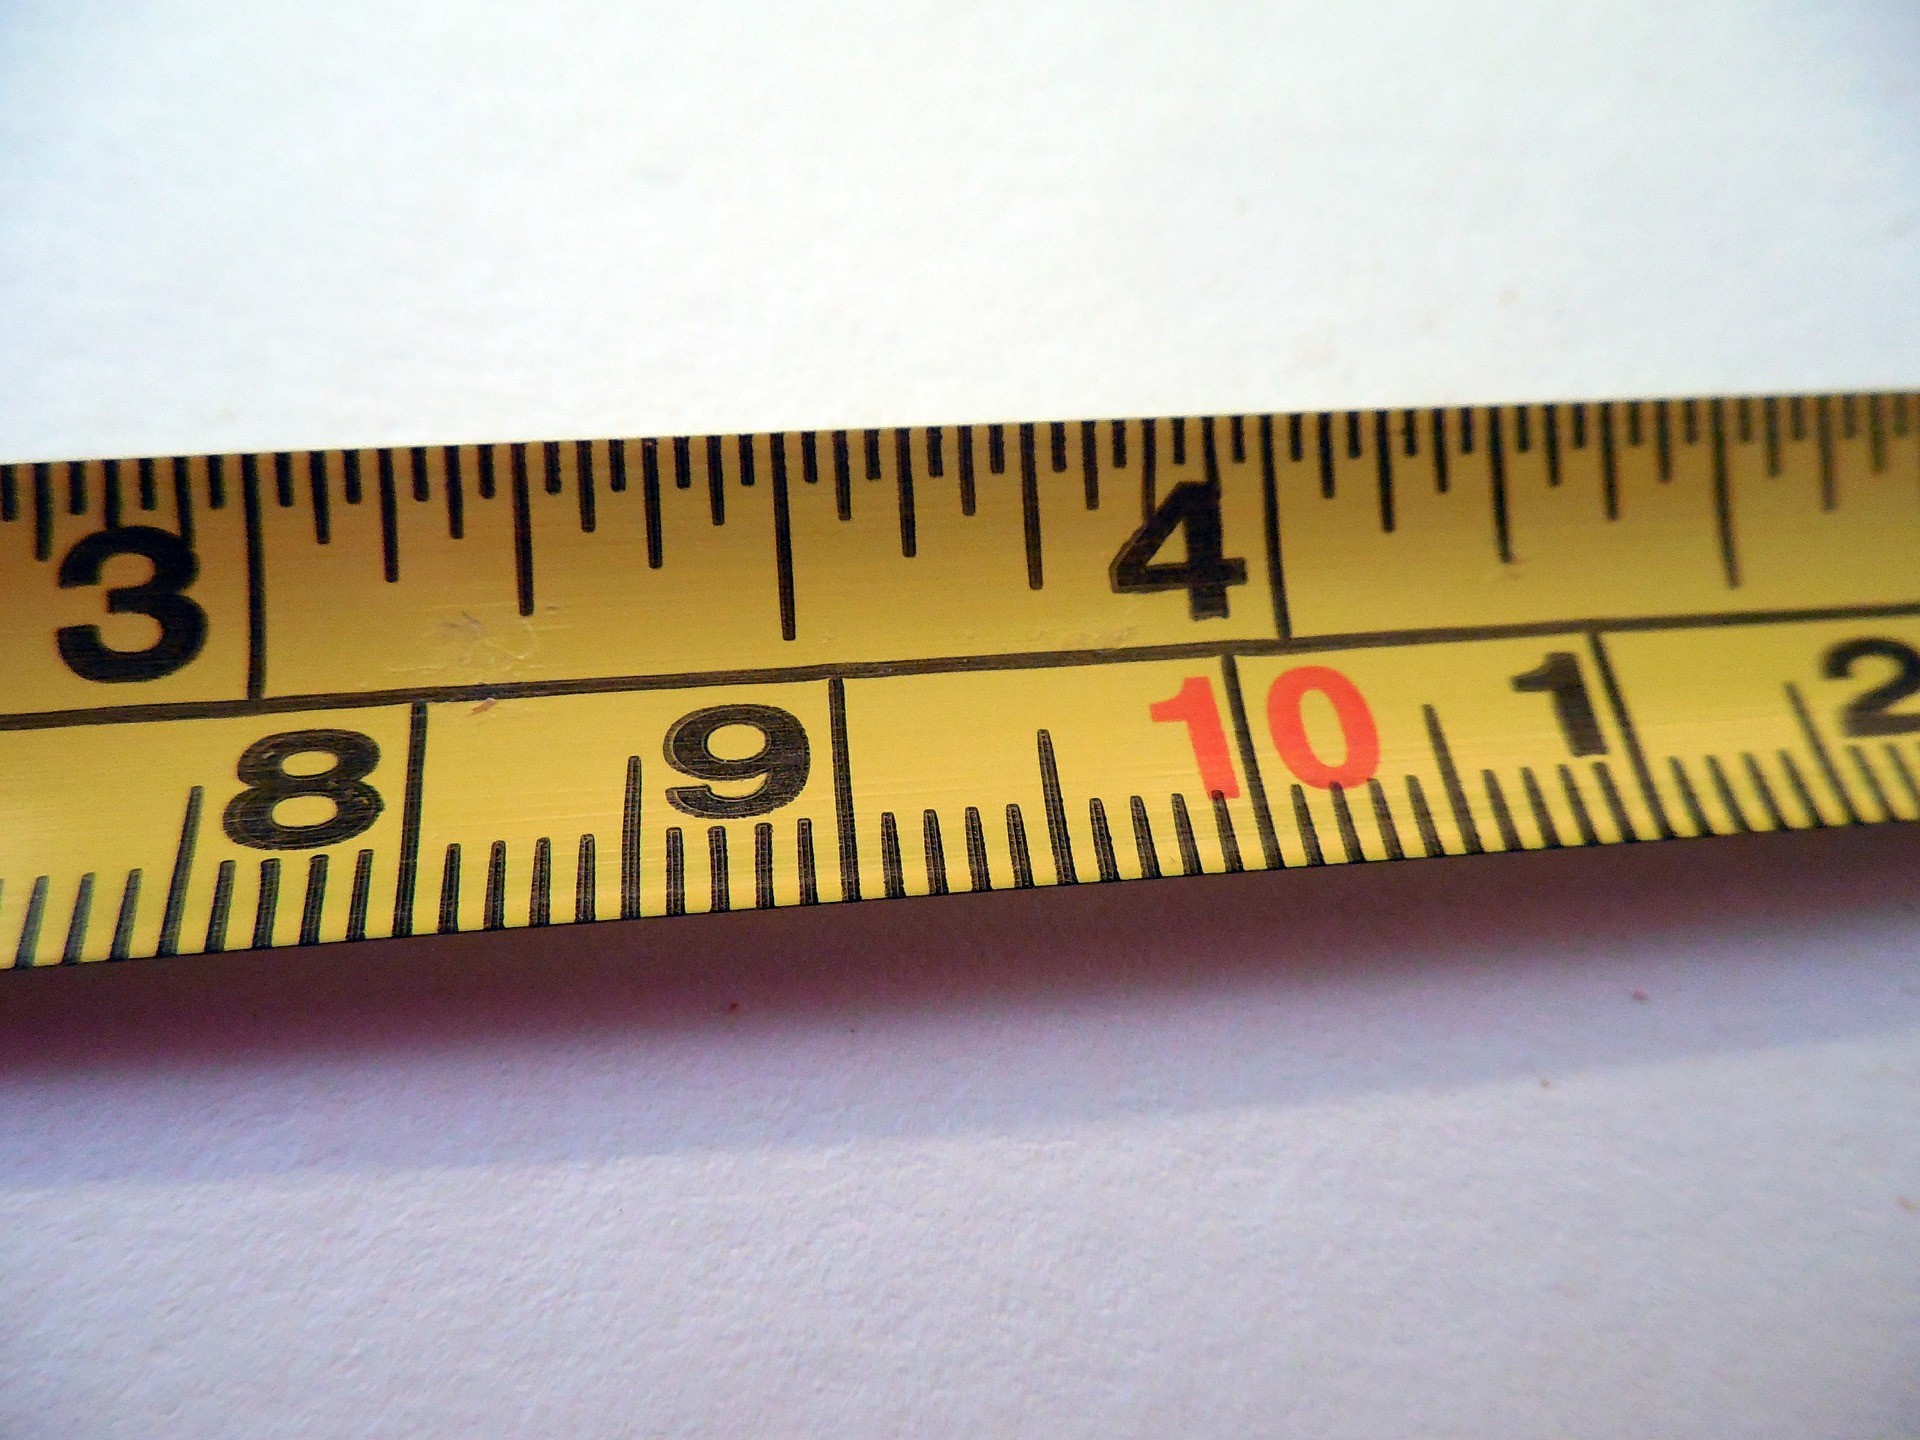
If the small tape measure marks are not labeled, determine their values yourself. Depending on where the length ends, figure out if it’s more or less than half of an inch (on an imperial measure), and then look at the further subdivided marks to calculate what they amount to. The subdivisions follow a pattern of being halved at each interval.
Tips to Get an Accurate Tape Measure Read
- Keep your measuring tape absolutely straight and aligned with the surface or space to be measured. Any disruptions or sagging in the tape length will result in inaccurate measurements.
- When marking your measurement, use a “v” instead of a straight line. The bottom point should be placed right at your measurement.
- Once you’re done with the measuring tape, don’t let it reel back into the housing at turbo speed. This can cause scratches and bruises, especially if your hands get in the way. It is a good practice to place your finger on the housing below the tape, which will slow down its recoil.
Keson takes immense pride in manufacturing some of the best tape measures for an accurate read. Contact us now for more information on measuring tapes and how to choose the right one for all your needs.